we burnin hella money on da PC case
it's a good time for sure and I'm learning a lot but def not worth. Glad I did it, here are some pictures.

The case was designed in CAD (ty Miko), with corner supports 3D printed to hold 8 copper flat bars and 2 plates together to be the case. Additionally, the mobo mounting plate was 3D printed as it didn't make sense to make out of copper.
The bars were (very poorly) machined without any real layout tools besides cardboard templates, and took a lot of time and a non-zero number of dremel bits to make workable.
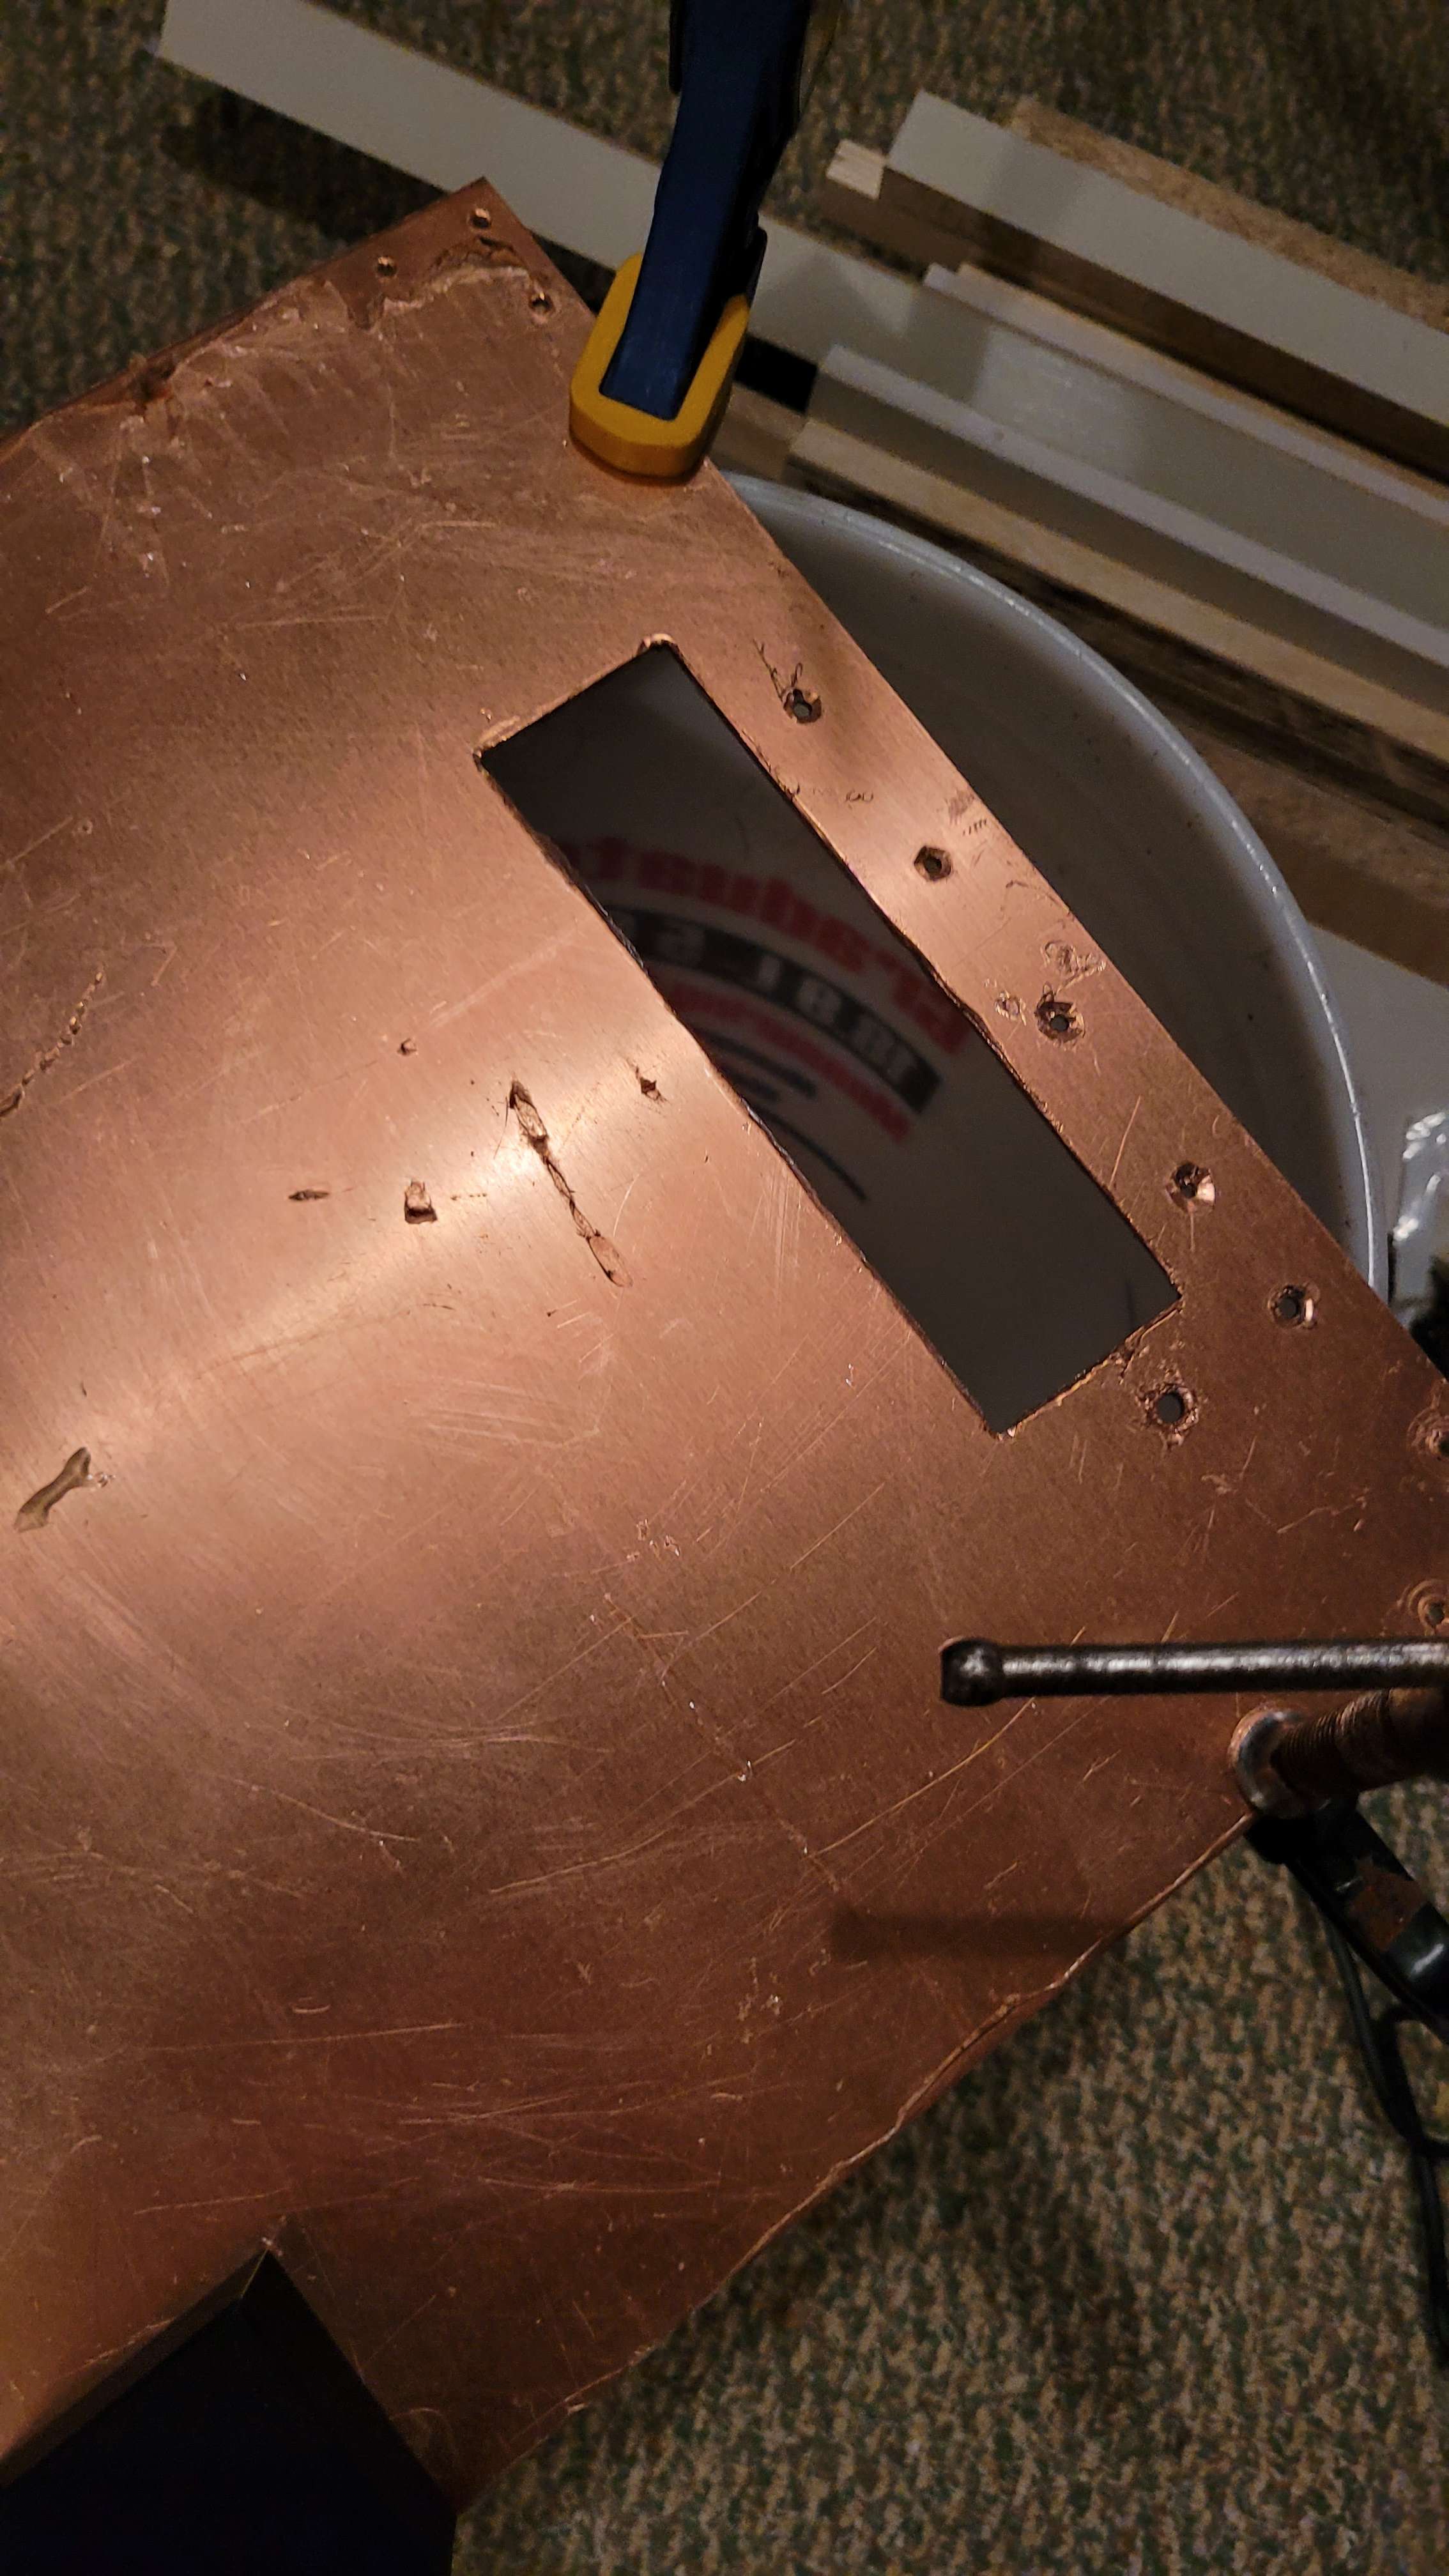
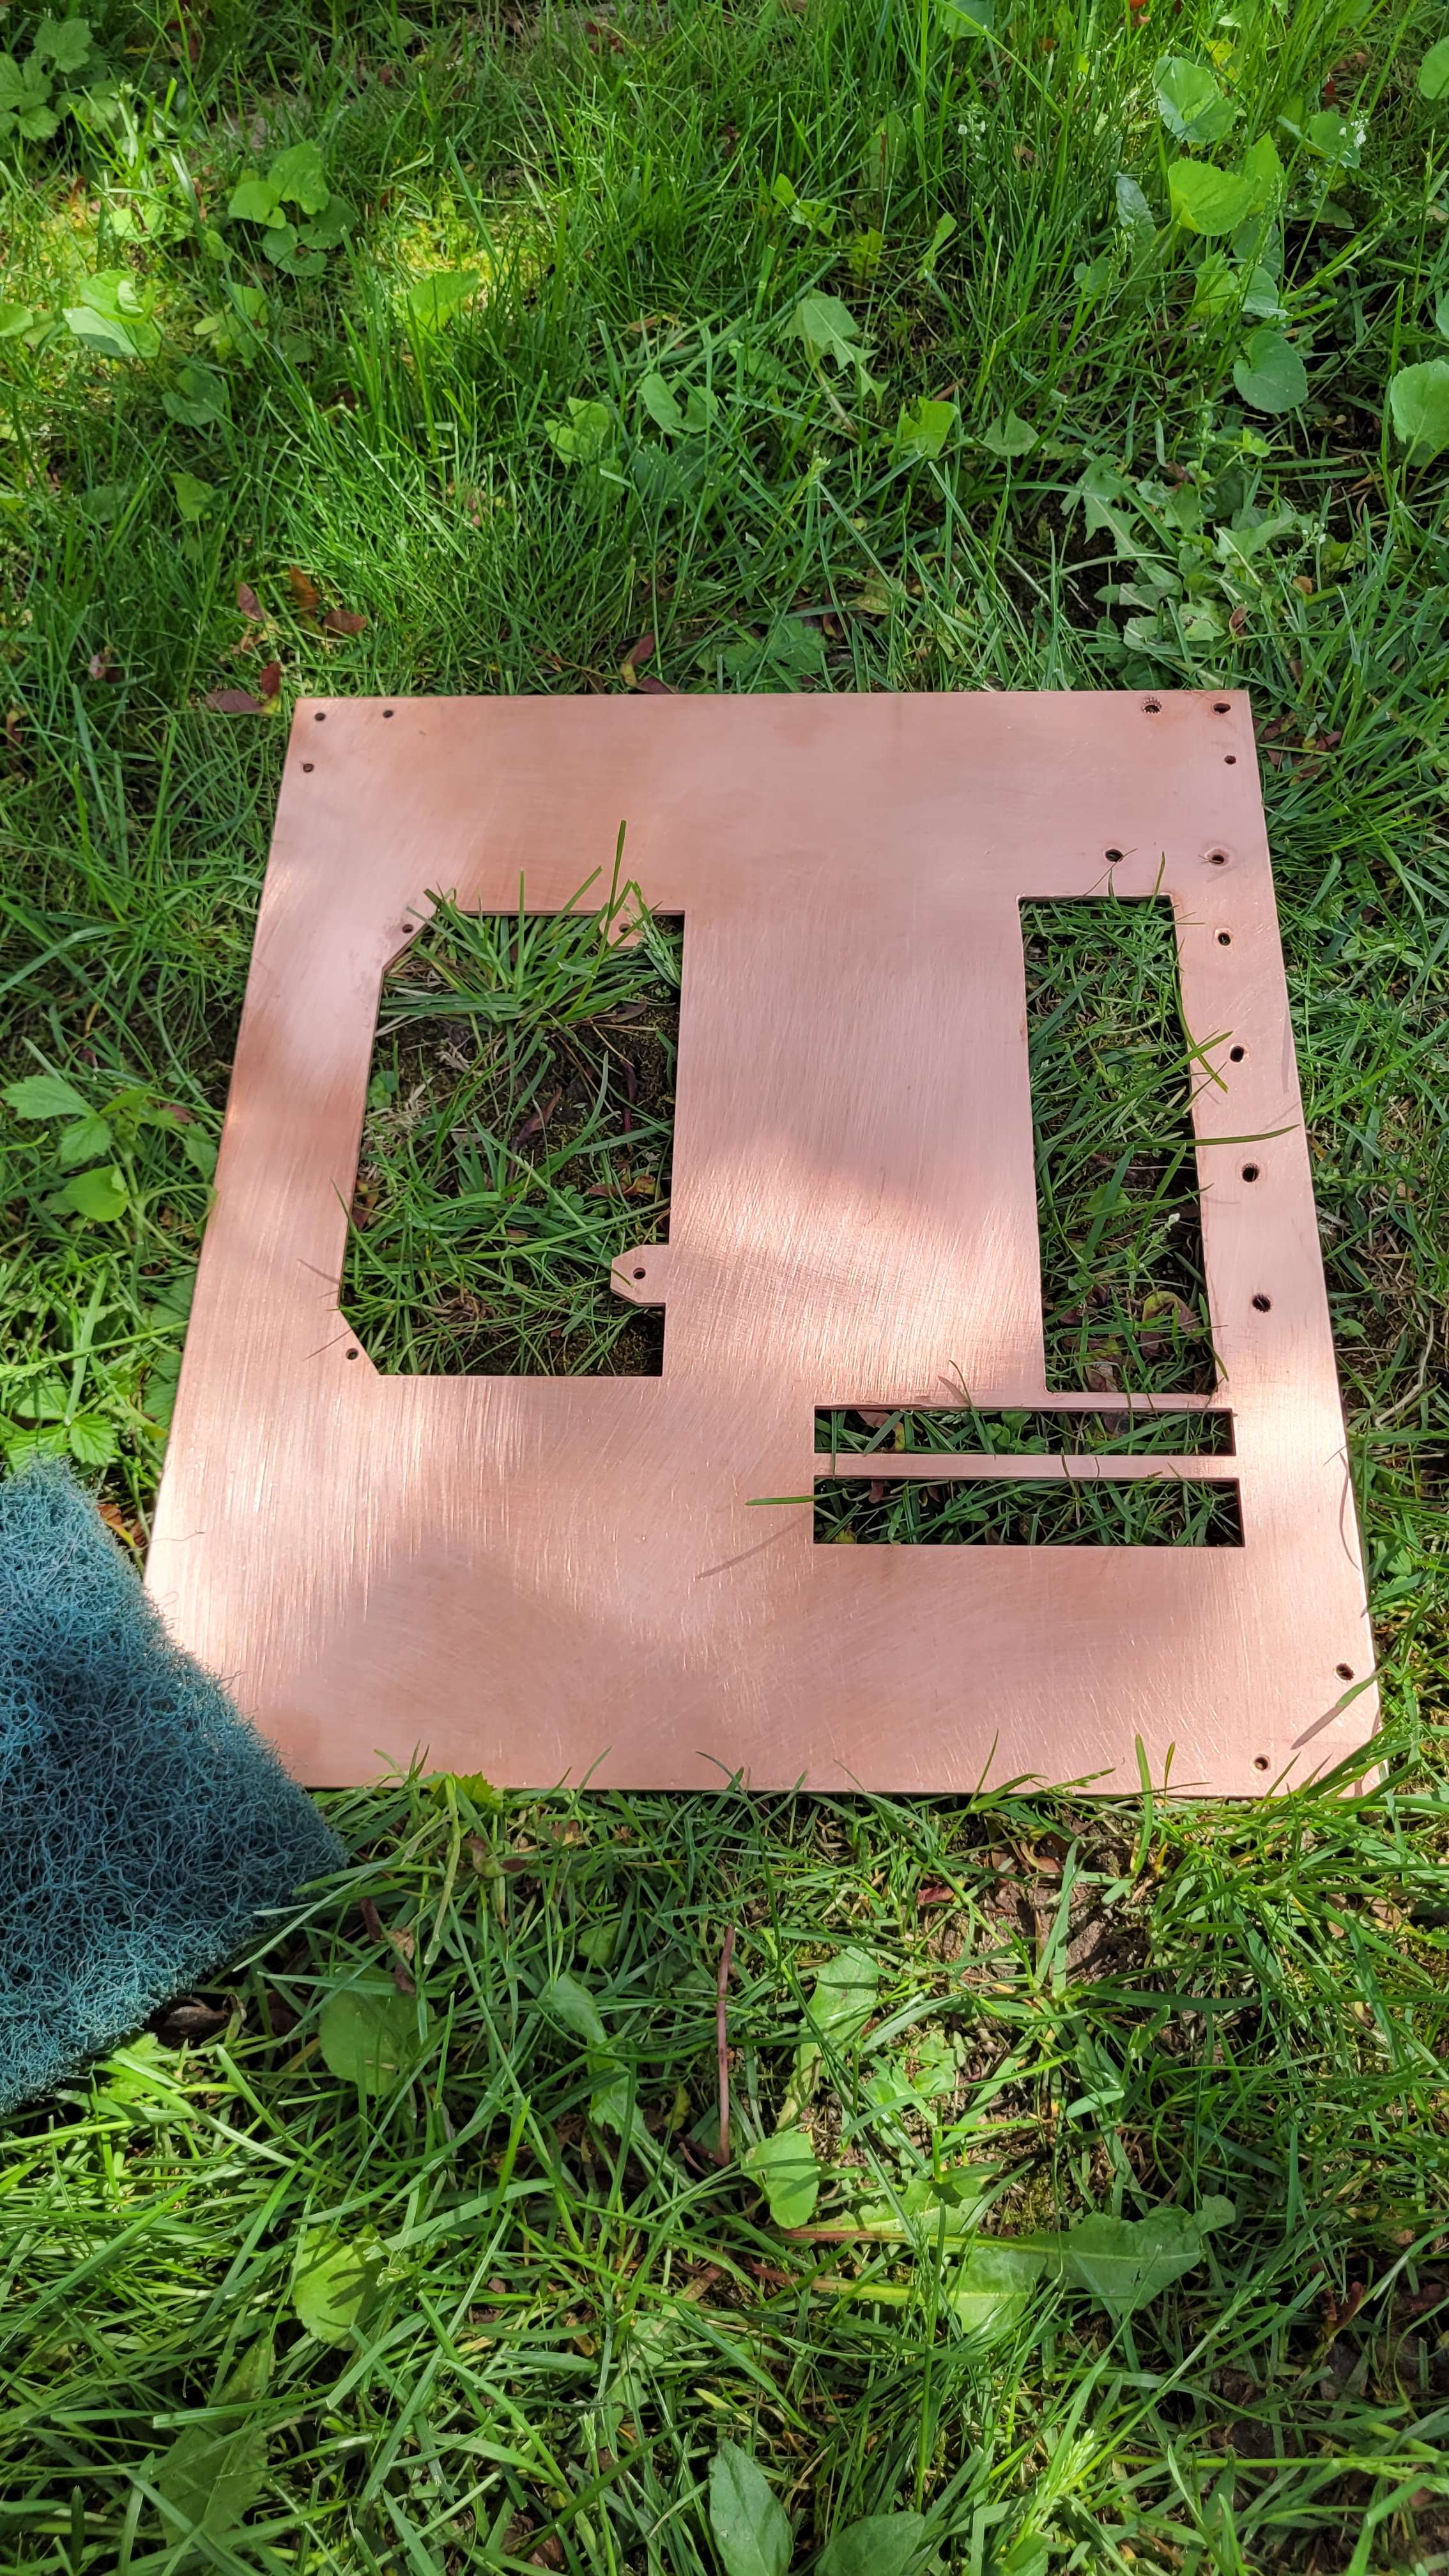
After that disaster, the larger and more ornate designs on the plates were waterjet as I swore off doing more metalwork with a rotary tool, and the result was pretty nice, honestly. A bit of cleaning up with some scotch brite and I was ready to go!
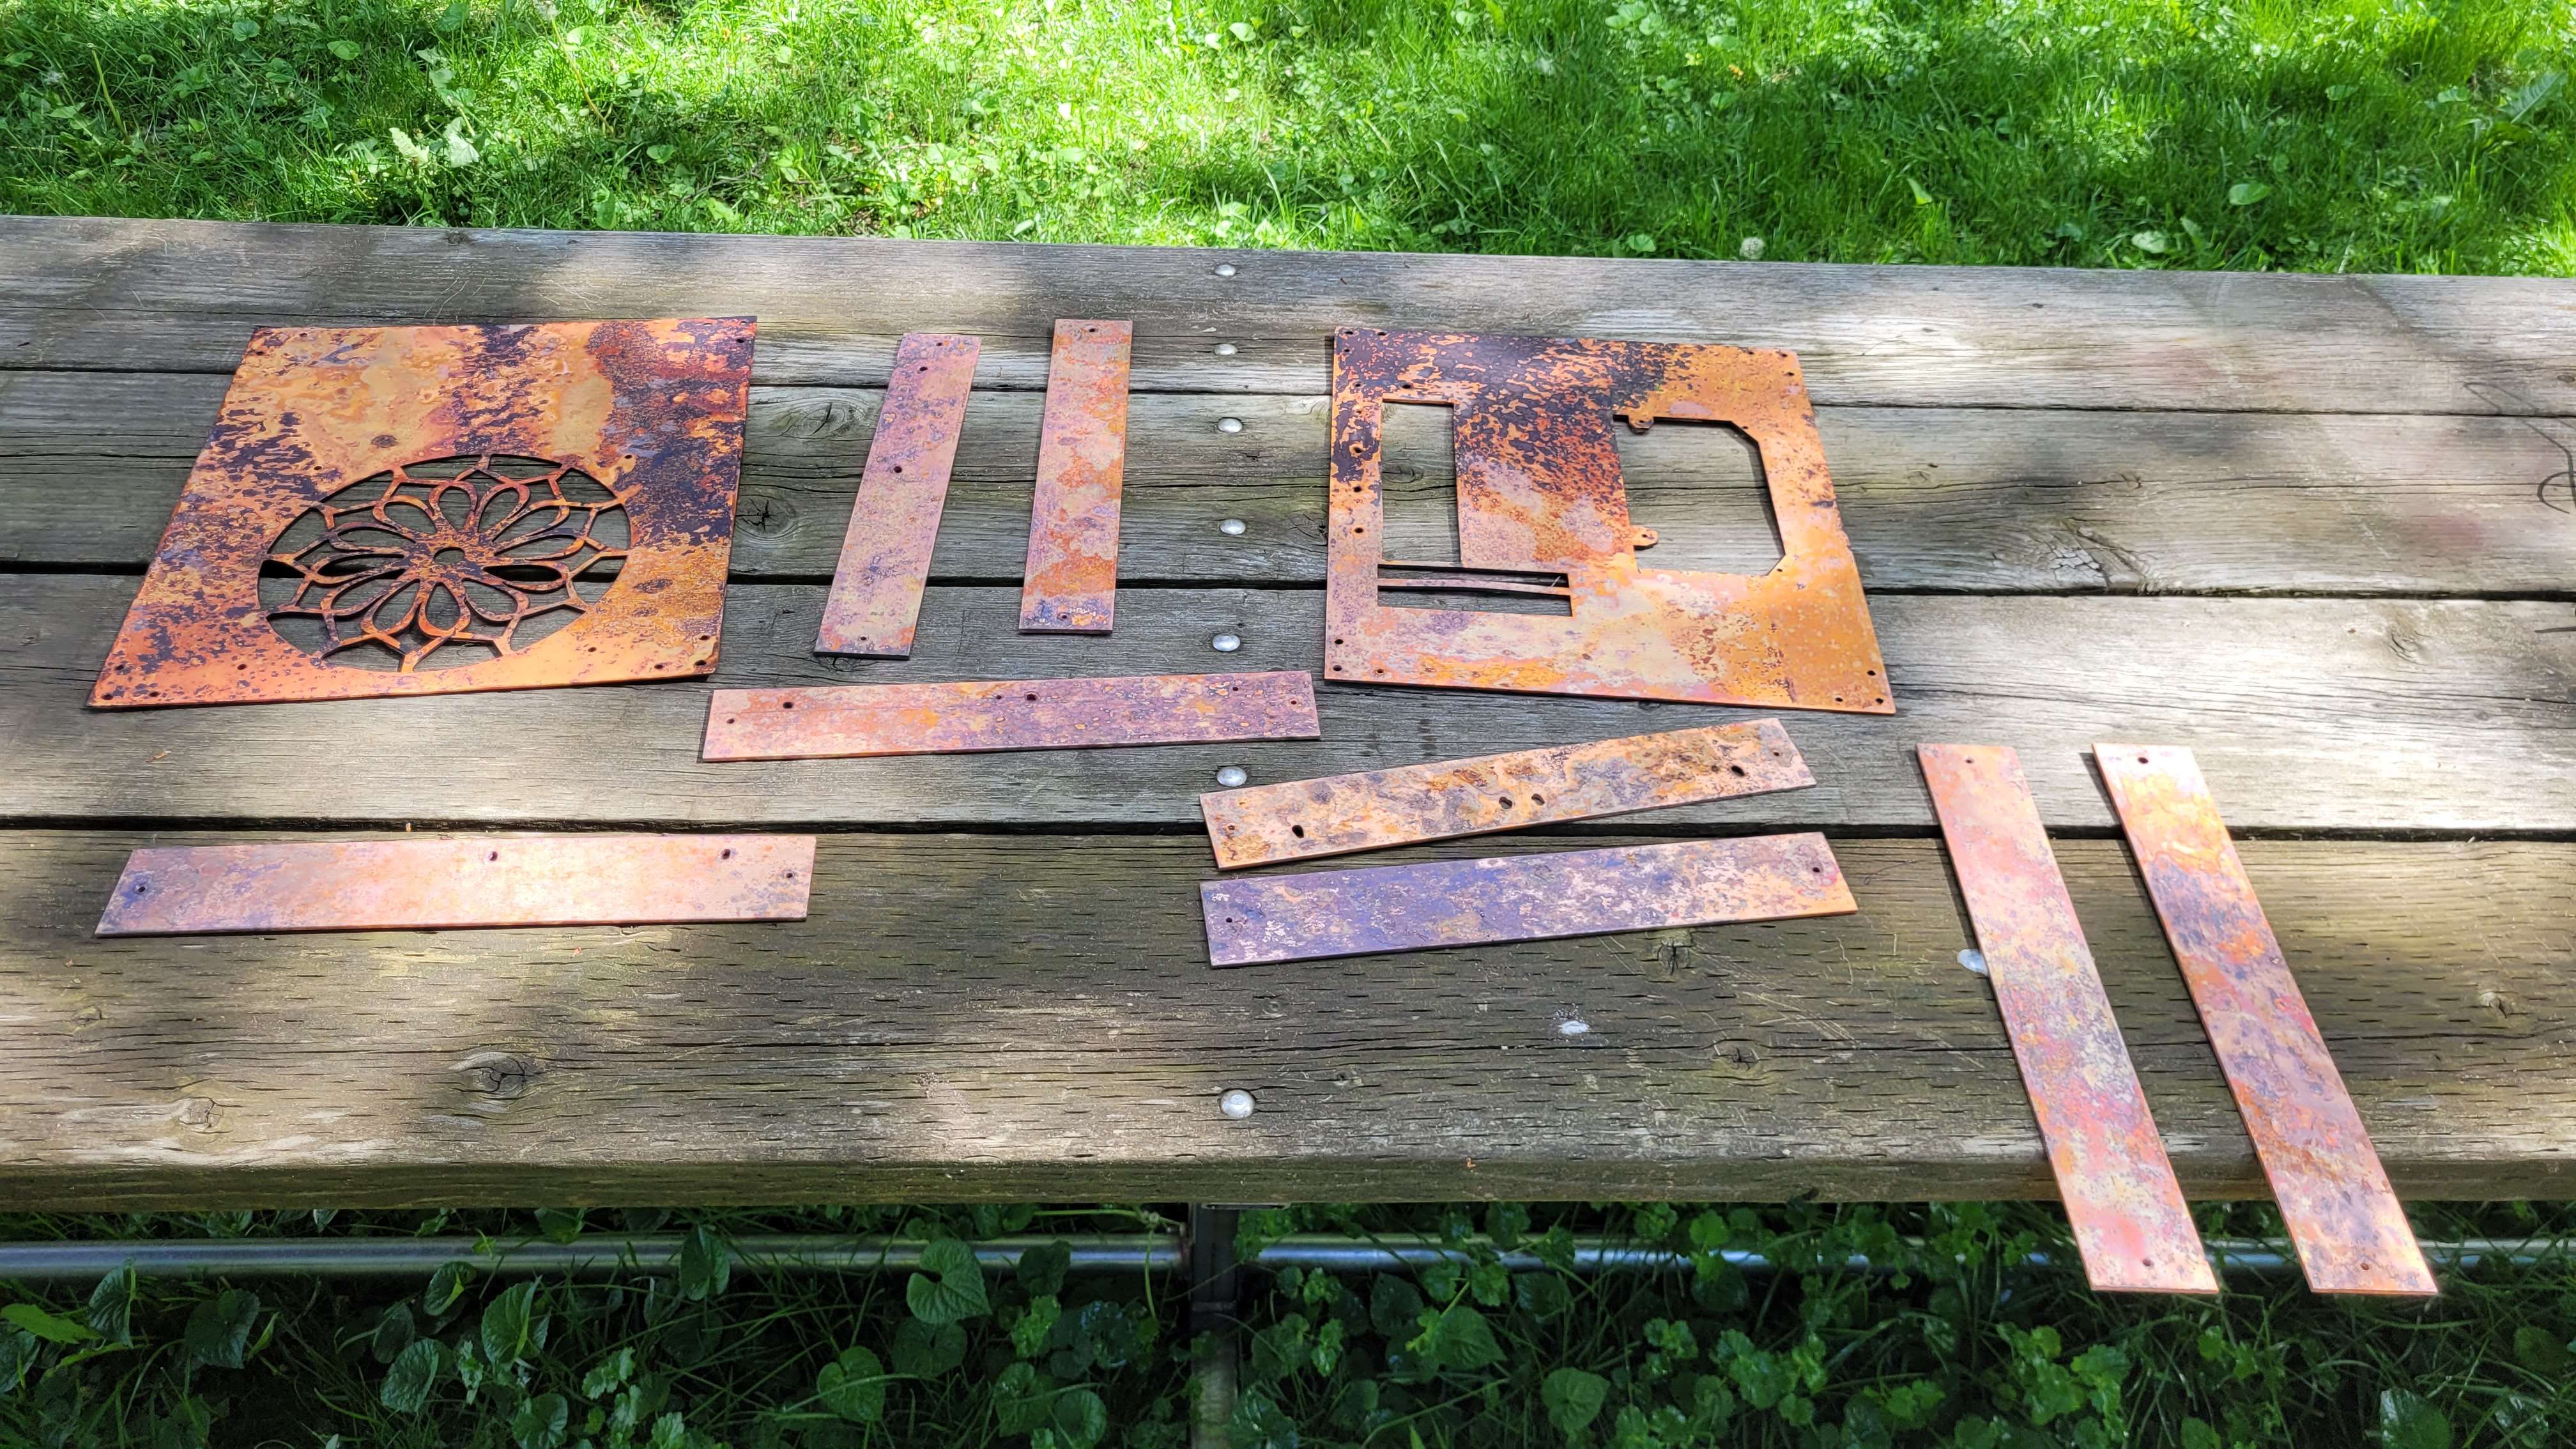
Now the big thing here is that the *look* of the copper I wanted was not the common green oxidization, but the less common red and black oxidization gotten with heat, not acids when you're in a hurry. It looks something like this:
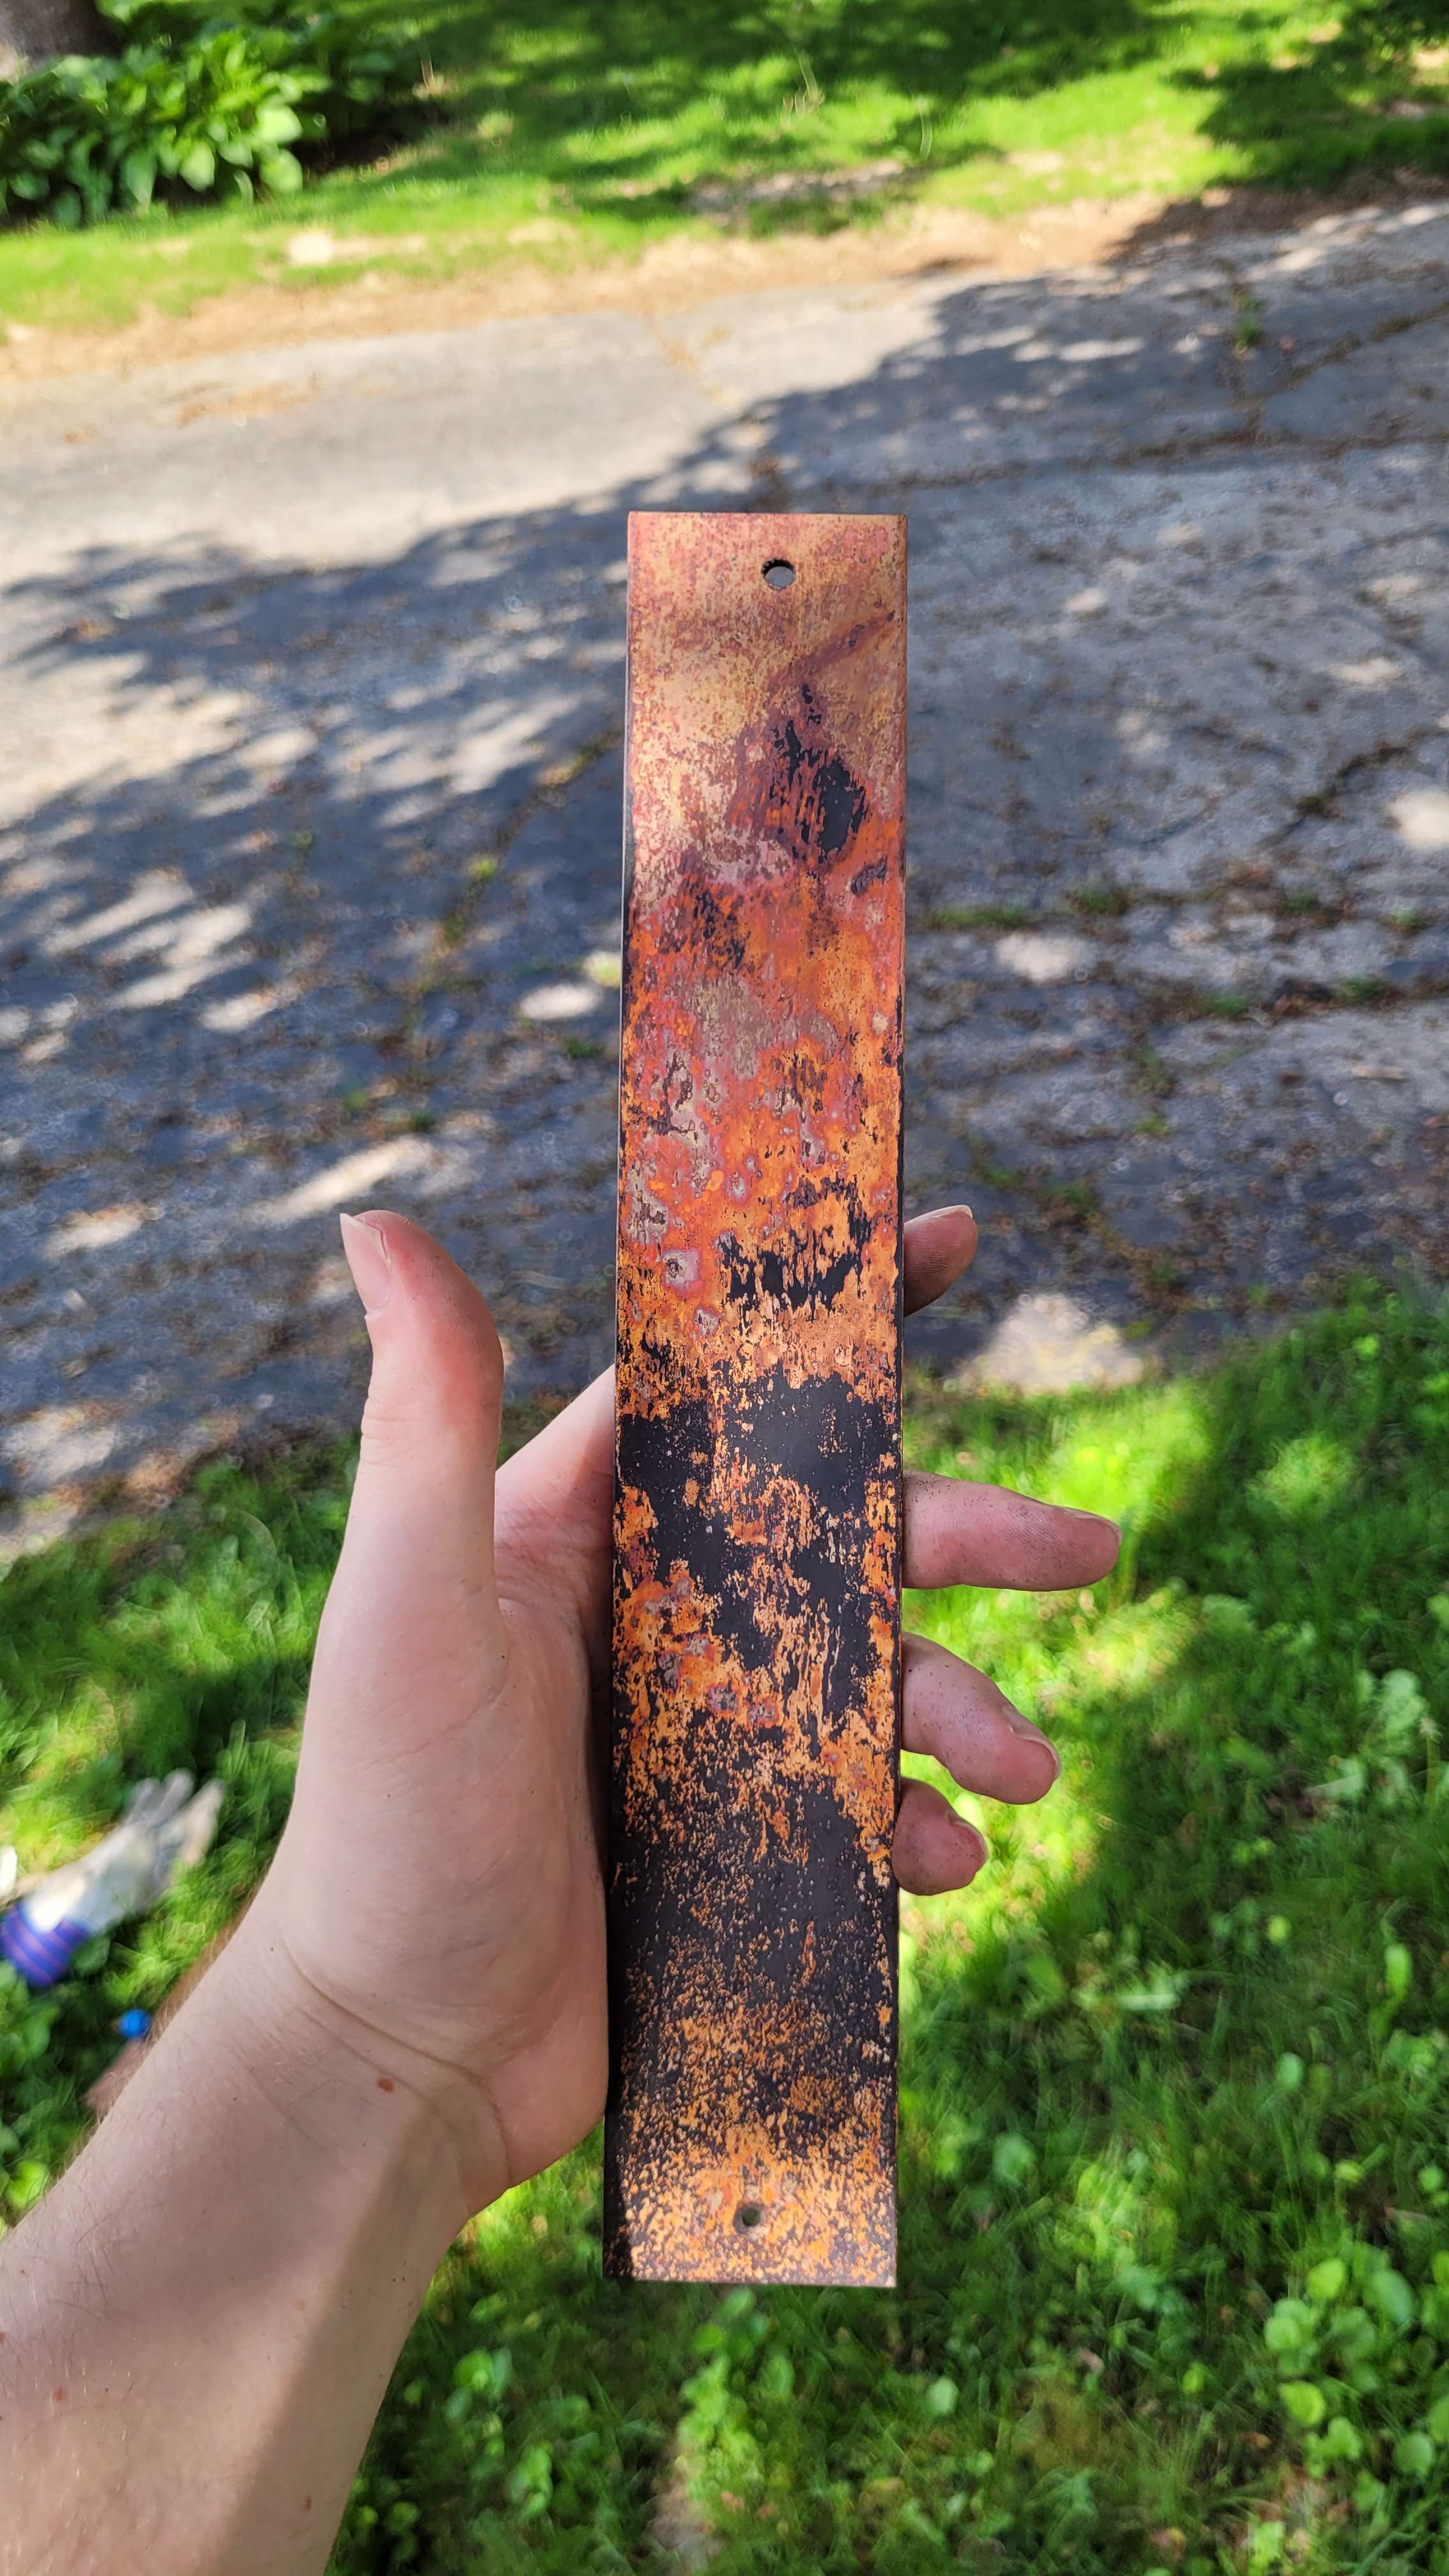
How do you go about getting ~10 pounds of copper hot enough to oxidize? It's not with a propane torch in my windy backyard, I'll tell you that much. Instead, turn to the pinnacle of North American culinary innovation, the barbequeue.
This actually worked pretty well. After a few hours on full blast and a spraying off of the extra oxide with a garden hose, I had my completed coating!
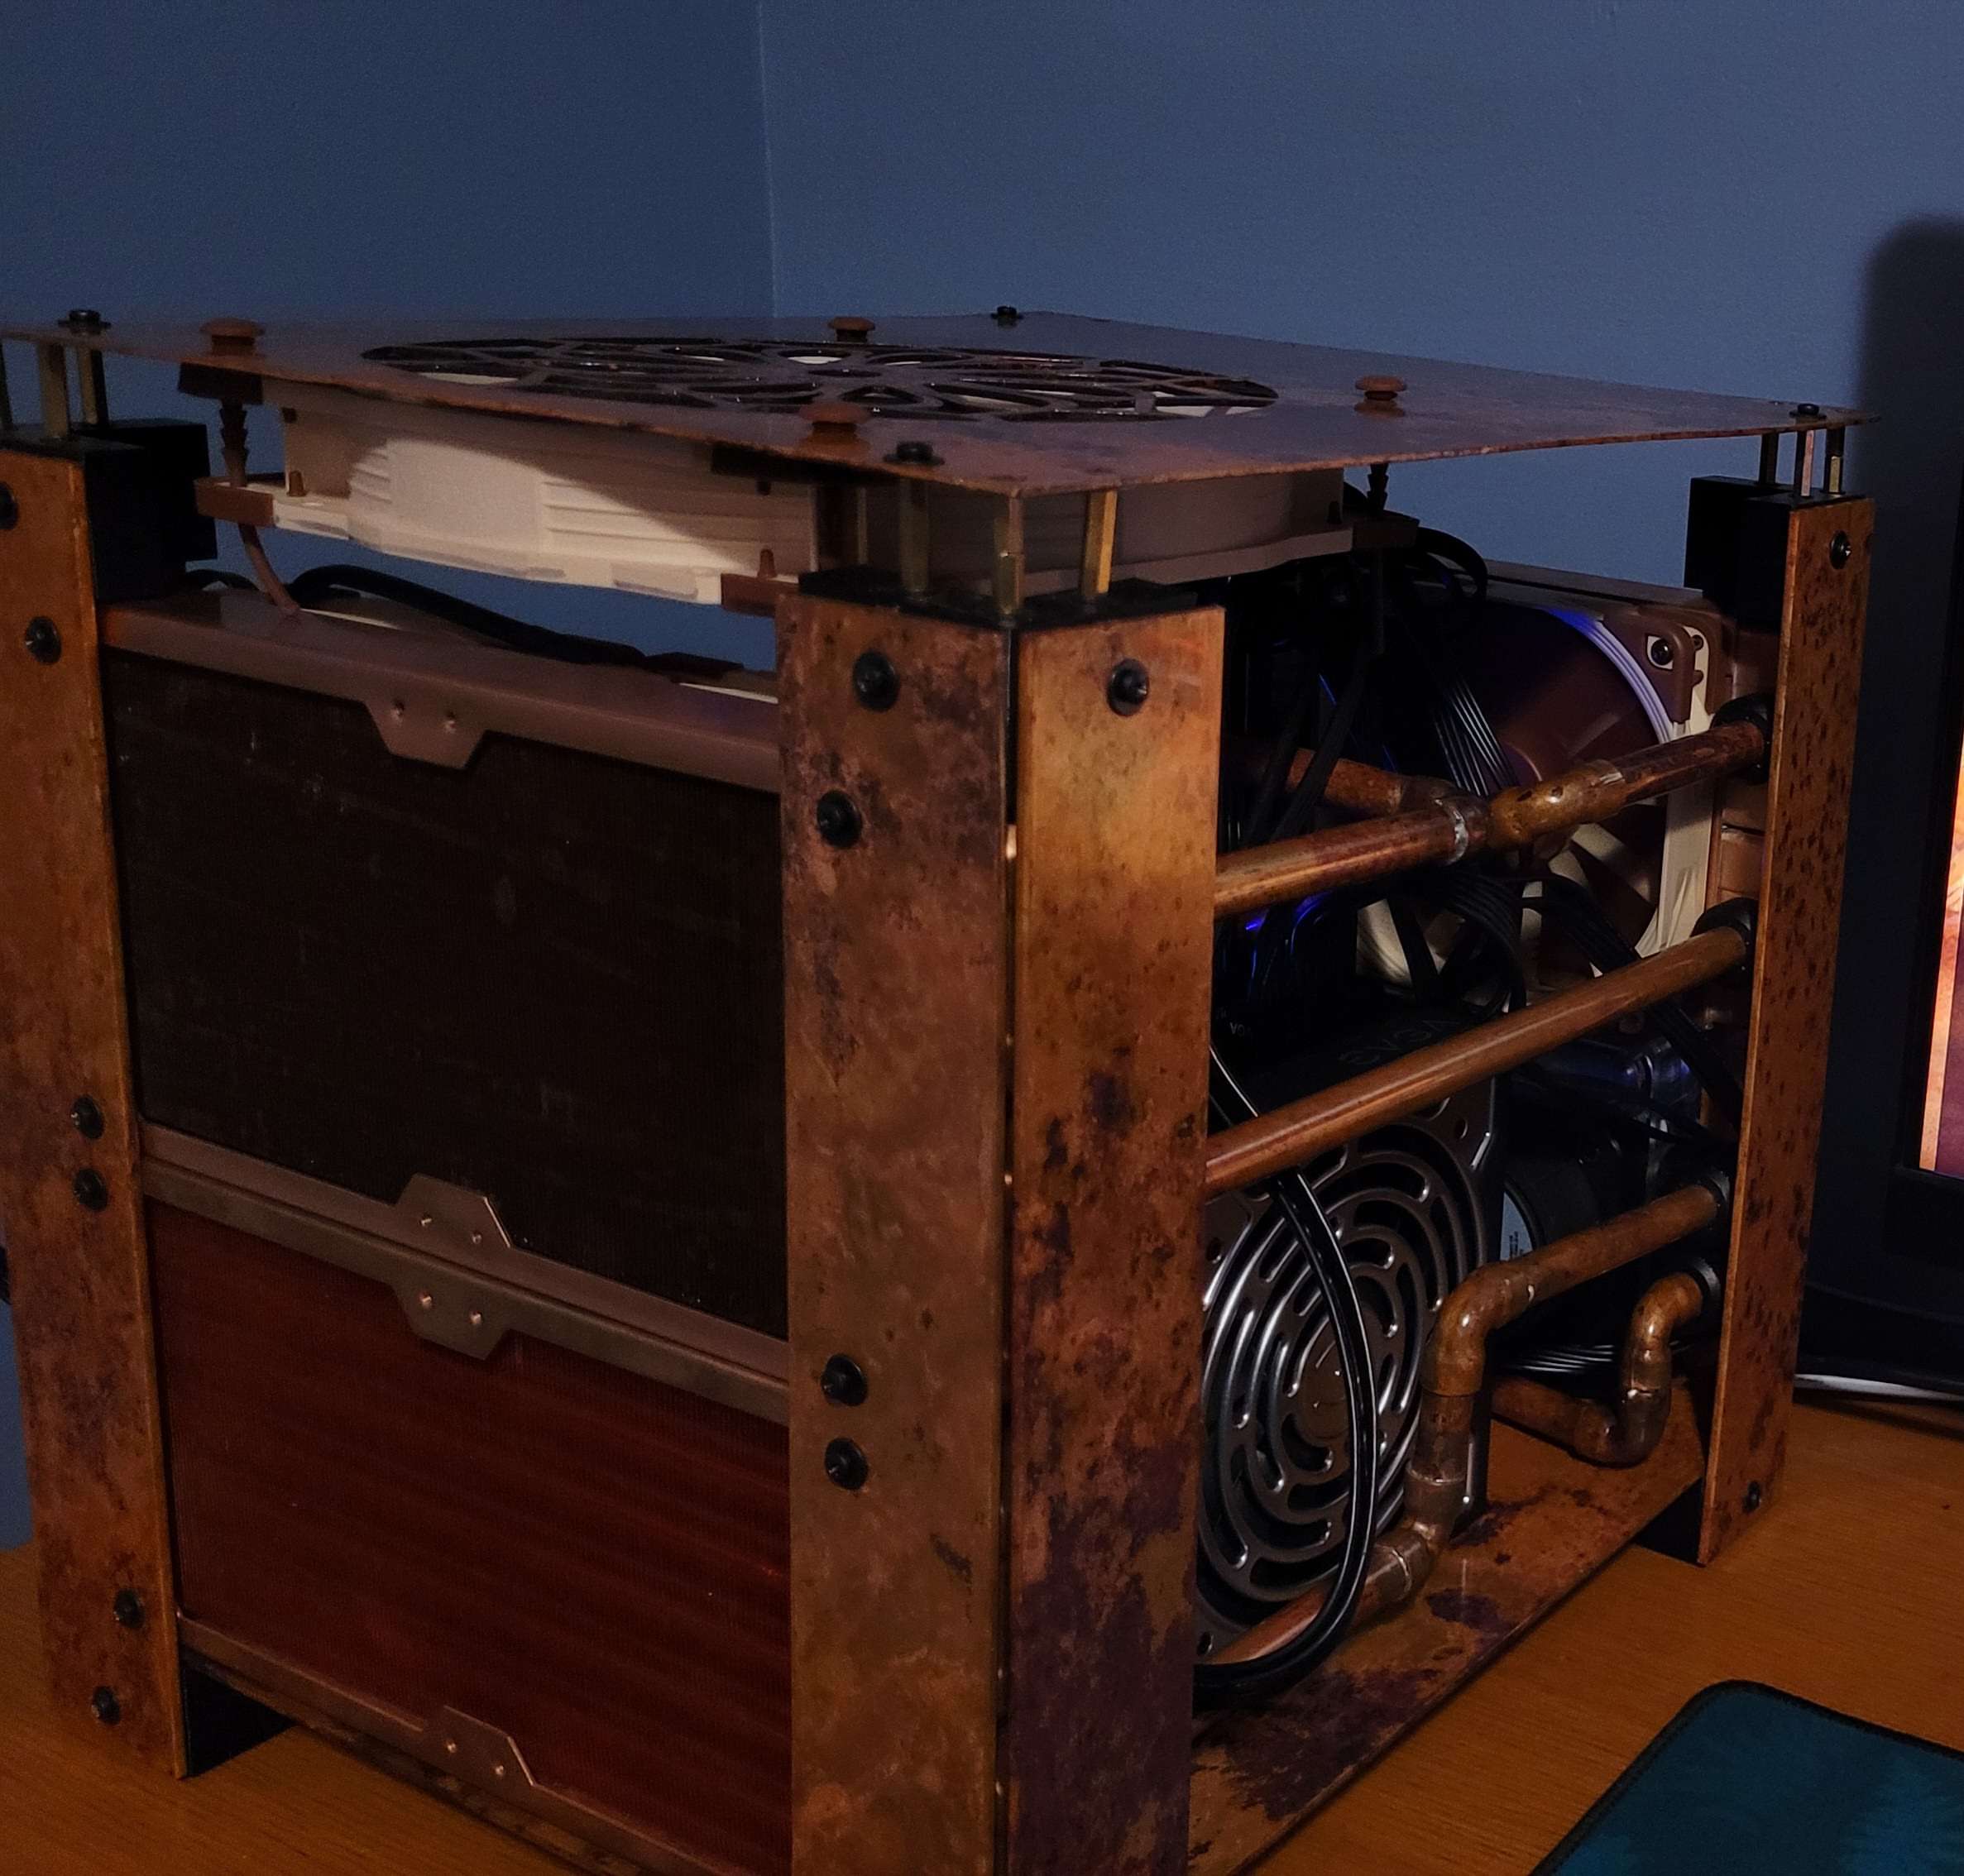
All that was left was to coat everything in some nasty chemical sealant (ProtectaClear is the name, works great but is annoyingly pricey), do some elementary plumbing on straight 3/8" nominal size (1/2" outer diameter - this was FAR MORE DIFFICULT THAT IT FELT IT SHOULD'VE BEEN... I bought the wrong size three times :D ), and slap it all together, giving a final result:

Ah yes, right, the obligatory leak test. Got recommended an air pressure tester and I'm glad I did because a bad solder joint was giving a slow leak where I wouldn't have spotted one - the actual liquid leak test was without issue. After a reworking there, everything was finally done, and it runs both cold and whisper quiet. Don't remind me that it doesn't have a back plate yet.
Oh yeah, obligatory specs:
- Asrock B550M Motherboard
- XFX 7900XTX Merc 310
- AMD 5800X3D
- 2 x 16GB Corsair 3600MHz RAM
- EVGA P6 1000W PSU
- EKWB CPU block + Pump/Reservoir
- 6 x Noctua NF-F12 Fans
- Alphacool Merc310 GPU block
- Noctua NF-A20 Fan
- Corsair 1TB PCIe4 NVMe
- idk some cheap 2TB SSD
- Probably like 200 hours all-in?